How to Sew Swimwear: 7 Essential Tips for Perfectly Sewn Bikinis and Swimsuits
- Jul 10, 2025
- 6 min read
Updated: Jul 24, 2025
I know firsthand how impossible sewing your own swimwear can feel, like it’s only something professionals can pull off, or those with overlockers/sergers. But I promise you, if you’ve got a sewing machine and a bit of determination, it’s absolutely doable at home (and way more fun than you’d think!).
Whether you’re a first-time swimwear stitcher or looking to improve your swimwear sewing techniques...
...and whether you're using an overlocker/serger or just a sewing machine, these tips will set you up for sewing swimwear successfully just like these pieces 👇!

Why I started sewing swimsuits and bikinis
I started sewing my own swimwear because I wanted to finally have swimsuits and bikini bottoms that actually fit my tall, lanky frame, so I no longer had to settle for a wedgie!
My first attempt? I was 15. It was a total disaster.
Fast forward 10+ years and I gave it another go, this time dreaming of comfy swimwear for some Greek island hopping. And I realised something huge:
💥 Sewing your own swimwear isn’t just possible >>>>> it can be simple! YES, SIMPLE AND QUICK!
That is, when you know the right techniques. Then it all clicks: design, drafting, sewing and fitting.
Once I discovered just how simple and quick it could be, I became swimwear making OBSESSED!
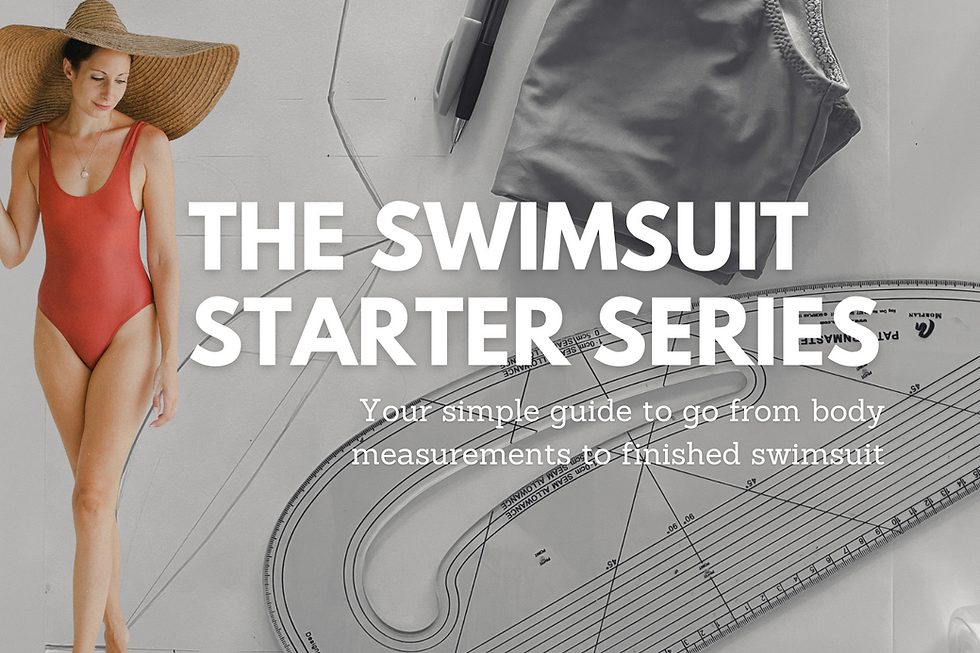
And now I teach everything I’ve mastered inside my online swimwear courses, Take The Plunge, and Swimsuit Starter Series 👇

Honestly? The obsession is real.
You might even catch the bug too 🤣👇

I've lost count a long time ago of how many swimsuits and bikinis I've now made.
Some with an overlocker, some with just a basic sewing machine. Every single make has taught me something new, and I’ve packed all that knowledge into my courses to make it easier for you to get started, too.
Today, I’m bringing some of that to this blog so you can skip the guesswork and get right into sewing swimwear that actually gets finished and makes you proud.
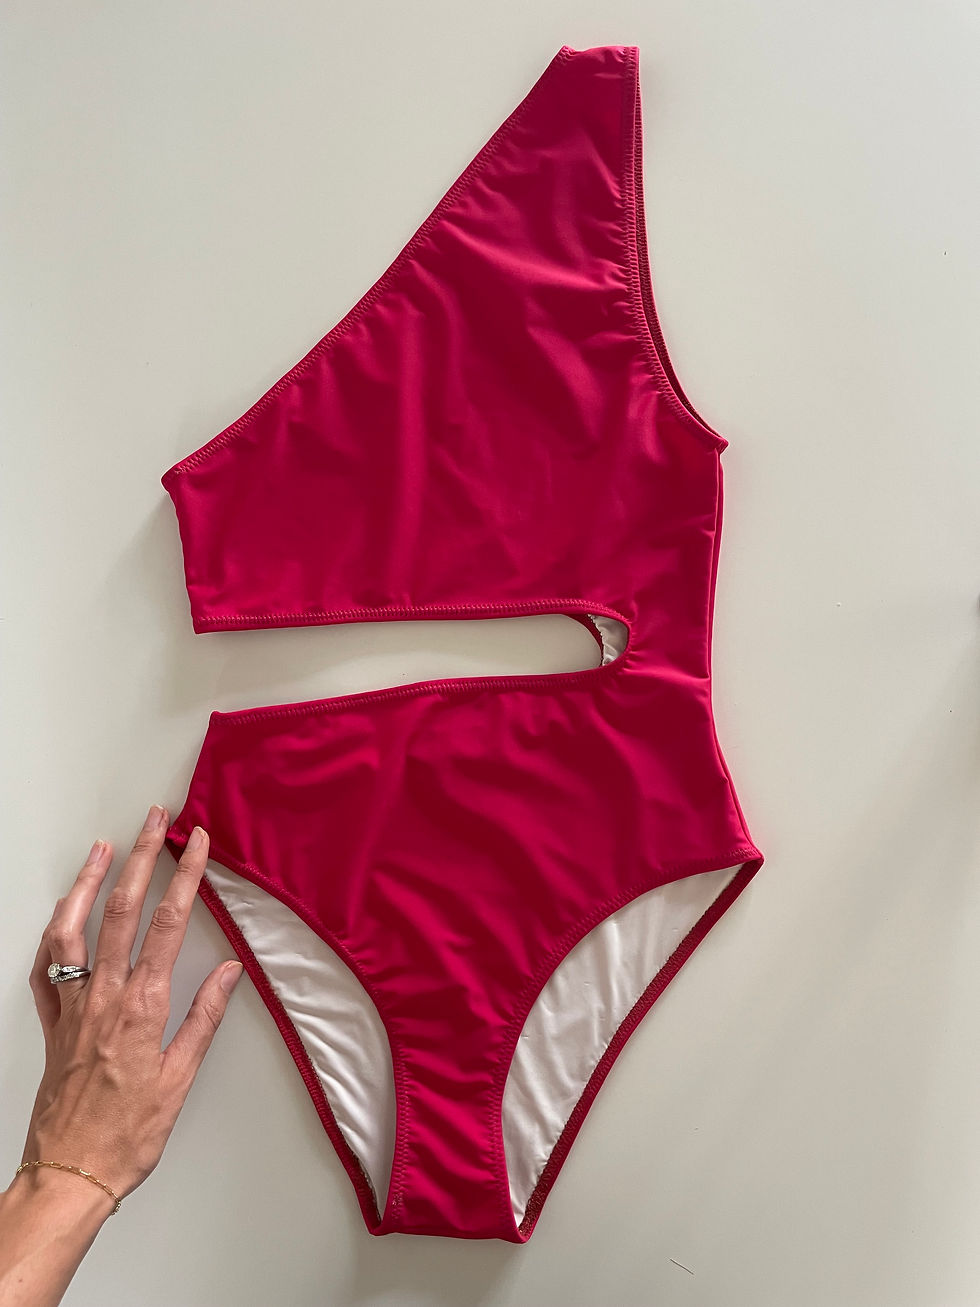
What does a SUCCESSFULLY sewn swimsuit or bikini look like?
Before we sew, we’ve got to know what success actually looks like when sewing our swimwear, so here it is:
✔️ It sits flat on the table - no ❌ wavy edges or fabric flipping in or out
✔️ No ❌ skipped stitches
✔️ The stitches don’t ❌ snap when you stretch or put on your piece
👇 Like these 👇

Alright, let's dive in to the gold! 👇
7 Must-Know Swimwear Sewing Tips - Beginner-friendly
Use swimwear-specific fabric and rubber elastic
Choosing the right materials is key to creating swimwear that feels good, lasts longer, and performs well in water.
✅ Look for fabrics with 4-way stretch, like Nylon Spandex, Polyester Spandex, or ECONYL® (my favourite). These are designed to move with your body, resist chlorine, and dry quickly.
✅ Use rubber elastic (not braided or woven elastic) - it holds up in water, doesn’t degrade as fast, and gives your edges that clean, snug finish.
❌ Regular cottons, elastics from your stash, or fashion knits might look pretty but can sag, fade, or go see-through when wet. Not the vibe!
👉 Pro tip: Rubber elastic can feel a little tougher to sew at first, but once you get the hang of it, it’s a total game-changer for durability and fit.
Use a STRETCH needle to sew your swimwear
Not a jersey needle, not a normal needle, a STRETCH needle, like these: https://amzn.to/4dKGOkp
Stretch needles are designed for stretch fabrics and therefore prevent skipped stitches.

The thicker the fabric you're using, the thicker the needle you will want to use. I find a 90/14 is normally what I'm using when sewing swimwear, but if I were sewing a very thin swimwear fabric, I'd use a 75/11.
If you want to understand more about sewing needles and what all those numbers mean, check out this blog here
Use a wide stitch, such as a wide zig-zag
A zigzag (or any wide-angle stitch) allows your fabric to stretch without breaking the seam.

👉 Let's be clear, you don’t have to use a zigzag.
Any stitch with a wide, angular pattern, like the green circled ones below, can work just as well- just test it first.
✔️ Test it by tugging. If it stretches easily, it’s a yes.
❌ If it’s stiff and/or snapping when stretched, it’s a no.

Start and finish your sewing with a stay stitch.
This will make your stitching super secure whilst giving you a neater finish as you don't have a heap of zigzags backwards and forwards misaligned.
Just a few mm of straight stitch forwards and backwards is all you need.
So, it won't affect the stretch of your garment.
Stretch the elastic, not the fabric!
This is the difference between pro-looking swimwear and wavy edges. This keeps the fit snug but prevents distortion.
Always stretch the elastic slightly, while keeping the fabric totally relaxed. I share a full video demo of this inside Take The Plunge - my complete online swimwear creation course

📹 P.S. I share an in-depth video on how to master stretch stitches and machine settings for swimwear inside my full swimwear course, Take The Plunge – perfect if you want to see it all in action.
Overlap your rubber elastic ends by 1cm.
If there is a gap in your rubber elastic, the finished edge won't sit nicely.
It will want to pull out a different amount than the rest of the sewn edge with elastic.
By overlapping your elastic by 1cm you'll get a super neat finish.

Stitch close to the inner edge of the elastic
The position of your stitching matters - it's how to avoid most flipping and rolling at the edges.
When you're sewing down your elasticated edges, keep the stitches along the inner edge of the elastic like this 👇

If you found this helpful, imagine what’s waiting for you inside the full course, Take The Plunge, or The Swimsuit Starter Series!
Keen to learn exactly how to create your dream swimsuits 🩱 and bikinis 👙?
If you’re ready to learn everything you need- from designing luxe swimwear to fitting and sewing it so it flatters your body…
Then Take The Plunge, my all-in-one online swimwear course, is for you.
✔️ Design swimsuits + bikinis that match your style
✔️ Draft patterns for your ideas
✔️ Fit them to your unique body
✔️ Sew swimwear that makes you feel confident poolside and beyond!
In just 4 weeks, you’ll finish your first piece and know how to make custom swimwear season after season.
Not quite ready to dive fully into the swimwear creation world and want to test the waters 💦 first?
Start small (but mighty) with the Swimsuit Starter Series – the exact step-by-step I wish I’d had when I was starting out.
This quick and simple mini-series shows you how to go from body measurements to a finished swimsuit in just a few hours.
Want the real behind-the-scenes, tips, and offers I don’t share anywhere else?
Join the email family here and get them straight to your inbox 💌.
Happy sewing! 🌊🧵
Sarah
xxxx
**Please note: Some links are affiliate links and I might earn a commission, but there’s no extra charge for you.


Slope Unblocked is challenging enough for elite players aiming for high scores, but it's also simple enough for casual gamers seeking a quick challenge during a break.